 |
|||||
Bathroom cement render, patching up the walls.The walls have been strippped of tiles, and bathroom cement render has to be applied to smooth them out and make them acceptable for waterproofing and tiling. The surface that ceramic tiles are to be fixed to should be clean and straight with no loose material. It is pointless spending a lot of time and money on a bathroom renovation if the all important preparation is not done well. Every link in the chain has to be strong.
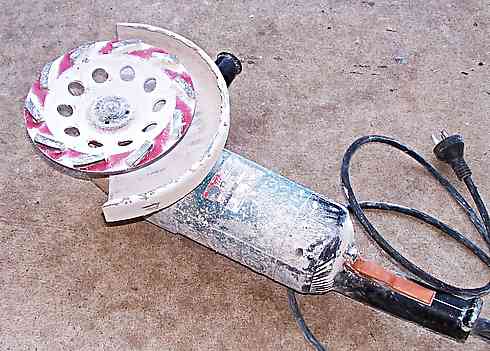
I am going to tile the whole of the walls in the bathroom to a height of 2100mm so the parts of the walls that were not previously tiled had a textured paint finish on them. These had to be scraped back of loose paint. They came clean quickly. A 50mm wide paint scraper got under the paint layer and it came off fairly easily. The walls that had been tiled were a bit rough, some patches had rock hard tile adhesive still on them and in others parts the tile and adhesive came off together with patches of the old plaster. I tried grinding off the hard glue with my angle grinder but it was not really successful. I wasn't taking much of the old glue off because it was so hard and yet had a consistency that the diamond blade didn't seem to work on. Yet at the same time when I over ran a bit, I was digging into the parts that had no glue, so I gave it away and decided to plaster up to the level of the old glue. I lightlty ground up every wall surface that had to be worked on, even the ones that looked good where the paint layer had peeled off easily to give it a good mechanical bond for the next work.
If you didn't find exactly what you are looking for try this search tool that will search the site and the web. |
Hire Equipment  Furniture Fittings - Architectural Hardware - Electronic Locking Systems - Technical Hardware BuilderBill sponsorship |
||||
|
|
|||||
|
Please Note! The information on this site is offered as a guide only! When we are talking about areas where building regulations or safety regulations could exist,the information here could be wrong for your area. It could be out of date! Regulations breed faster than rabbits! You must check your own local conditions. Copyright © Bill Bradley 2007-2012. All rights reserved. |
|||||
